Disclosure: This post contains affiliate links. We may earn a small commission if you purchase through our links, at no extra cost to you. We only recommend products we've thoroughly researched.
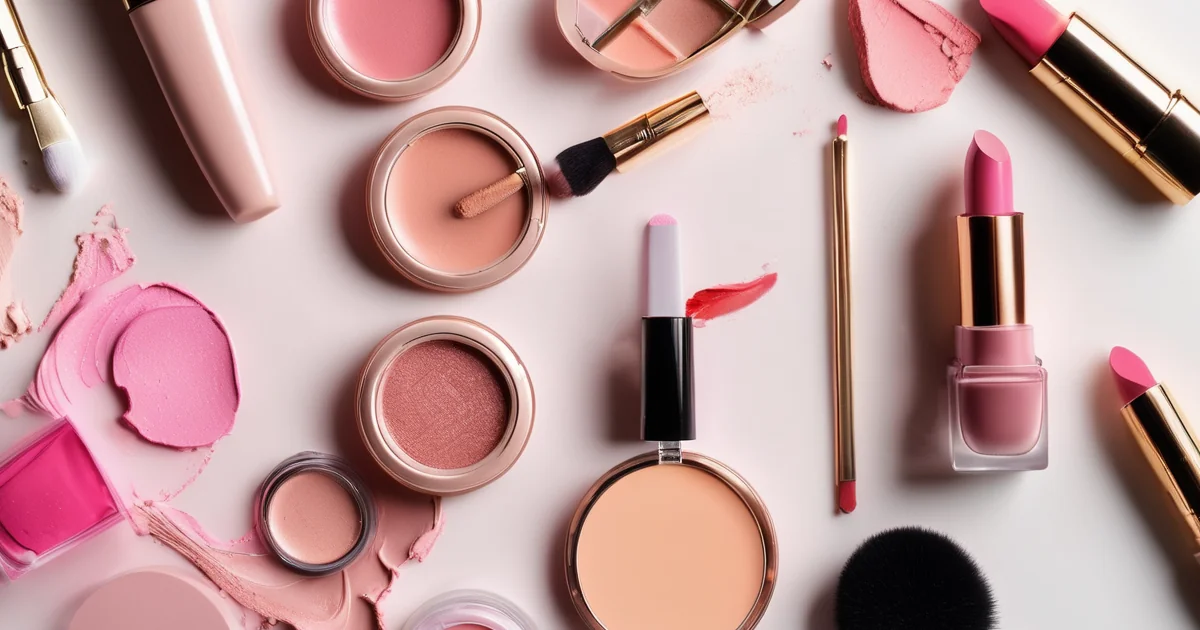
Learning makeup for the first time can feel overwhelming — the products, the brushes, the techniques, the order. But the truth is that a flawless makeup look doesn't require 20 products or years of practice. It requires understanding a few fundamentals, starting with the right beginner products, and building your skill one step at a time.
This complete makeup tutorial for beginners walks through every step in order — from skincare prep to setting spray finish — with specific product recommendations at every price point and honest guidance on what you actually need versus what the beauty industry wants you to buy.
Before Makeup: Skincare Prep
No makeup tutorial for beginners is complete without this: makeup sits on top of skin, so skin condition determines makeup results. The 10 minutes before foundation is the most important investment you can make.
Minimum prep routine:
1. Moisturizer — hydrated skin holds foundation better, looks less cakey, and prevents makeup from settling into dry patches. Apply and let absorb for 2–3 minutes.
2. SPF — your morning sun protection, applied after moisturizer and before primer/foundation. Many foundations contain SPF but at inadequate amounts — a dedicated SPF beneath makeup provides real protection.
3. Primer (optional) — a silicone or hydrating base that smooths skin texture, extends makeup wear, and helps makeup adhere. Not essential for beginners, but useful for oily skin or occasions when long wear matters.
Recommended starter skincare: CeraVe AM Moisturizing Lotion SPF 30 (~$18) — combines moisturizer and SPF in one step, keeping your pre-makeup routine simple.
Step 1 — Color Correct (Optional)
What it does: Neutralizes specific discolorations before foundation — so foundation covers them completely rather than just thinly masking them.
When to use it: Only if you have significant discoloration that foundation alone doesn't cover adequately. Most beginners can skip this step initially.
Color guide:
- Green — neutralizes redness (acne, rosacea)
- Peach/salmon — neutralizes blue-purple (dark circles, bruising) — use on medium-to-deep skin tones
- Yellow — neutralizes purple tones — use on fair-to-medium skin tones
- Lavender/purple — brightens sallow or yellow skin tones
Apply color corrector only to the specific areas of concern, blend lightly, then apply foundation over the top.
Recommended: e.l.f. Cosmetics Camo Color Corrector (~$10)
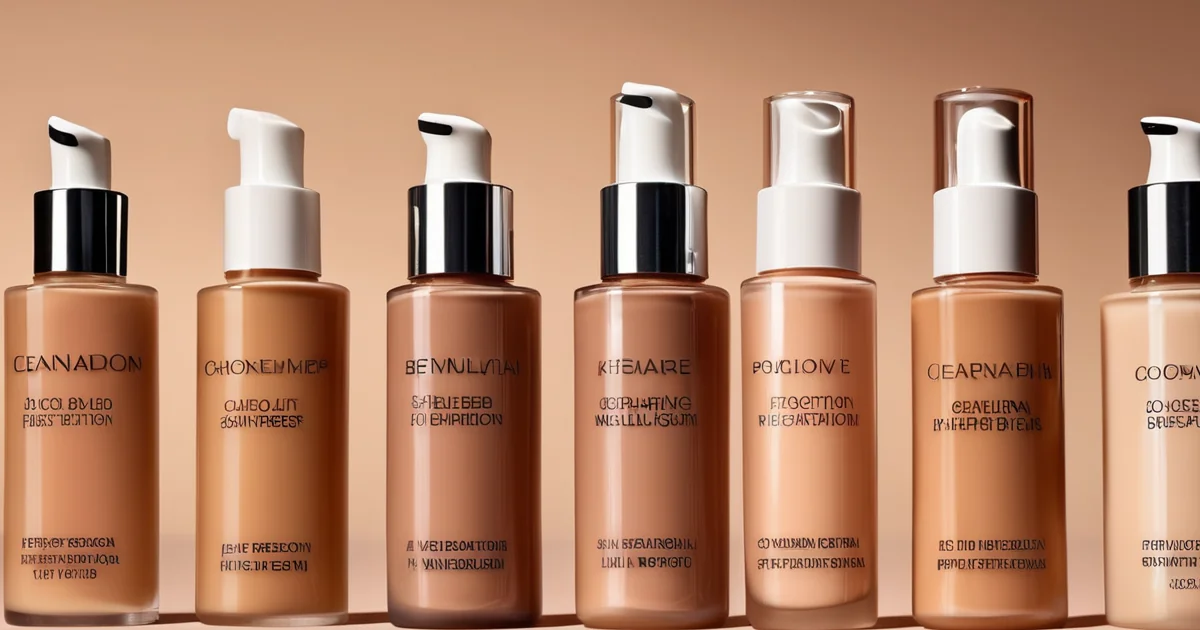
Step 2 — Foundation
What it does: Evens out overall skin tone and creates a unified base for everything that follows.
Choosing your formula:
- Skin tint / BB cream — sheer coverage, most natural finish, easiest to apply. Best for beginners and those wanting a "your skin but better" result.
- Liquid foundation — the most versatile; available in light to full coverage. The most widely used formula.
- Powder foundation — better for oily skin; more difficult to apply seamlessly as a beginner.
Shade matching: Test on your jawline (not your wrist — your wrist is often lighter than your face). The right shade disappears into skin in natural daylight. When in doubt, go slightly lighter and warm up with bronzer.
Application methods:
- Beauty blender / damp sponge — the most beginner-friendly tool. Dab (don't rub) in a bouncing motion. Produces the most natural, skin-like finish.
- Foundation brush — faster application, slightly more coverage. Use outward strokes from the center of the face.
- Fingers — works for skin tints and light coverage formulas. Warmth of fingers helps product blend seamlessly.
Application technique:
1. Apply foundation to the center of the face first (forehead, nose, cheeks, chin)
2. Blend outward toward the hairline and jawline
3. Blend down the neck slightly to prevent a visible foundation line
4. Use the sponge/brush to stipple product in — not drag it
Recommended:
- Budget: e.l.f. Halo Glow Liquid Filter (~$14) — skin tint, buildable, glowing
- Mid-range: Maybelline Fit Me Matte + Poreless (~$10) — 40 shades, matte finish, drugstore staple
- Investment: Charlotte Tilbury Airbrush Flawless Foundation (~$49) — buildable, 44 shades, long wear
Step 3 — Concealer
What it does: Covers specific concerns (dark circles, blemishes, redness) at higher coverage than foundation.
Two main uses:
- Under-eye: Choose a concealer 1–2 shades lighter than your foundation to brighten the under-eye area. Apply in a triangular shape under the eye (triangle pointing downward toward cheek) for a lifting, brightening effect.
- Blemish/spot coverage: Match exactly to your skin tone. Apply directly to the spot and blend only at the edges — pulling product off the center reduces coverage.
Application: Use a small concealer brush or your ring finger. Set with a light dusting of translucent powder to prevent creasing under the eyes.
Recommended:
- Budget: NYX Professional Makeup Bare With Me Concealer Serum (~$12)
- Mid-range: Maybelline Instant Age Rewind Eraser Concealer (~$10) — the viral drugstore concealer
- Investment: NARS Radiant Creamy Concealer (~$32) — 30 shades, buildable, widely loved
Step 4 — Set with Powder
What it does: Sets liquid foundation and concealer, reduces shine, and extends makeup wear.
Who needs it: Oily or combination skin, or anyone wanting longer-lasting makeup. Dry skin types may prefer to skip powder or use it only in the T-zone.
Types:
- Translucent setting powder — colorless, works for all skin tones, most beginner-friendly
- Tinted setting powder — adds a slight finish and can be used for light coverage on its own
- Banana powder — yellow-toned; specifically brightens and sets under-eye concealer on medium to deep skin tones
Application: Use a large fluffy brush — press powder into skin (don't sweep, which moves foundation) in the T-zone and under-eye area. A light hand is key.
Recommended:
- Budget: e.l.f. Halo Glow Setting Powder (~$12)
- Mid-range: Laura Mercier Translucent Loose Setting Powder (~$40) — the industry benchmark
- Investment: Charlotte Tilbury Airbrush Brightening Flawless Finish Setting Powder (~$46)
Step 5 — Contour and Bronzer (Optional but Impactful)
What it does: Adds warmth, dimension, and definition to the face. This is the step that makes faces look sculpted rather than flat.
Bronzer vs contour:
- Bronzer — warm brown tones; applied to areas the sun would naturally hit (forehead, temples, nose bridge, cheeks). Adds warmth and a healthy glow.
- Contour — cooler, greyer-brown tones; applied to shadow areas (below cheekbones, along jawline, sides of nose) to create depth. More dramatic effect.
Beginner approach: Start with bronzer only. Apply to the "3" shape on each side of the face — forehead, under cheekbones, jawline — blending upward toward the hairline. This alone adds significant dimension without requiring contour precision.
Recommended:
- Budget: e.l.f. Sun Kissed Bronzer (~$8)
- Mid-range: Too Faced Chocolate Soleil Bronzer (~$36)
- Investment: Charlotte Tilbury Filmstar Bronze & Glow (~$68) — bronzer + highlighter duo
Step 6 — Blush
What it does: Adds color and life to the face — the single product that most makes a face look healthy and awake.
Placement:
- Classic: On the apples of the cheeks, blended upward toward the temples
- Modern: Higher on the cheekbones, blended toward the temple for a lifted look
- Draping: Following the cheekbone from temple inward for a bold, editorial effect
Formula: Powder blush is easiest for beginners. Cream blush blends beautifully but requires practice with dry skin — apply before setting powder if using cream.
Shade guide: Choose peachy-pink for fair skin, rosy-pink or mauve for medium tones, berry or warm coral for deeper skin tones. When in doubt, a warm peachy-pink works on most skin tones.
Recommended:
- Budget: NYX Professional Makeup Blush (~$8), Milani Baked Blush (~$9)
- Mid-range: Rare Beauty Soft Pinch Liquid Blush (~$23) — the viral blush, highly pigmented
- Investment: NARS Blush in Orgasm (~$36) — universal peachy-pink with golden shimmer
Step 7 — Highlight (Optional)
What it does: Reflects light from the high points of the face — cheekbones, brow bone, nose tip, cupid's bow — to create a luminous, dimensional finish.
Beginner tip: A small amount goes a long way. Apply with a fan brush or fingertip to the top of cheekbones only to start. Over-highlighting is one of the most common beginner mistakes.
Recommended:
- Budget: wet n wild MegaGlo Highlighting Powder (~$5)
- Mid-range: Fenty Beauty Killawatt Freestyle Highlighter (~$34)
Step 8 — Eye Makeup
What it does: Defines the eyes — from a simple mascara-only look to a full eyeshadow and liner application.
The beginner sequence:
Eyeshadow (optional)
- Apply a neutral matte base shade across the lid and up to the brow bone
- Apply a slightly darker matte shade in the crease (the fold above the lid) for depth
- Add shimmer only to the center of the lid for dimension
- Blend between every step — harsh edges are the main beginner challenge
Eyeliner (optional)
- Pencil liner: the most forgiving beginner option; smudges easily for a soft look
- Apply close to the lash line on the upper lid — a thin line only to start
Mascara (always)
- Look down into a mirror (don't look up — causes product to hit lids)
- Place the wand at the base of lashes
- Wiggle slightly at the root, then sweep upward in a zigzag motion
- Apply 2–3 coats, letting each dry slightly before the next
Recommended:
- Eyeshadow: Urban Decay Naked3 Palette (~$54) — neutral rose tones for all skin tones; e.l.f. Rose Gold Textured Eye Shadow Palette (~$14) for budget
- Eyeliner: NYX Mechanical Pencil Eyeliner (~$10)
- Mascara: L'Oréal Telescopic Mascara (~$12), Benefit BADgal BANG! Mascara (~$32)
Step 9 — Brows
What they do: Frame the face — often the single product change that most dramatically transforms the overall look.
Beginner approach:
1. Brush brows upward with a spoolie
2. Use a brow pencil to fill sparse areas with light, hair-like strokes — follow the direction of hair growth
3. Keep the tail (outer edge) crisp and defined; keep the front (inner edge) softer and blended
4. Brush through again with the spoolie to blend
Shade guide: 1–2 shades lighter than your hair color for a natural result; match your hair color for a defined look.
Recommended:
- Budget: NYX Micro Brow Pencil (~$12), e.l.f. Brow Lift (~$10)
- Mid-range: Anastasia Beverly Hills Brow Wiz (~$25) — the industry-standard brow pencil
Step 10 — Lips
What to use:
- Lip liner — defines the lip shape and prevents color from bleeding. Match to your lipstick or your natural lip color.
- Lipstick or gloss — color and finish. Gloss is the most beginner-friendly; liquid lipstick requires practice to apply cleanly.
- Lip oil — the most wearable everyday option; adds shine and nourishment with a sheer wash of color.
Recommended:
- Lip gloss: NYX Butter Gloss (~$8), Fenty Beauty Gloss Bomb (~$22)
- Lip oil: Dior Addict Lip Glow Oil (~$38), Rhode Peptide Lip Treatment (~$16)
- Lipstick: Charlotte Tilbury Matte Revolution (~$38), NYX Soft Matte Lip Cream (~$8)
Step 11 — Setting Spray
What it does: Melts makeup together for a more natural finish and significantly extends wear — particularly in warm, humid, or active environments.
Application: Hold 8–10 inches from face, spray in an "X" then "T" motion, let dry naturally.
Recommended:
- Budget: e.l.f. Power Grip Primer + Setting Spray (~$12)
- Mid-range: Urban Decay All Nighter Setting Spray (~$35) — the long-wear benchmark
Your Starter Kit: What to Actually Buy First
| Phase | Products | Budget Pick | Approx. Cost |
|---|---|---|---|
| Week 1 (Base) | Foundation + applicator + powder | Maybelline Fit Me + Real Techniques sponge + NYX powder | ~$35 |
| Week 2 (Color) | Concealer + blush + mascara | Maybelline Age Rewind + Milani Baked Blush + L'Oréal Telescopic | ~$28 |
| Month 2 (Definition) | Bronzer + brow pencil + lip gloss | NYX Matte Bronzer + e.l.f. Brow Pencil + Fenty Gloss Bomb | ~$30 |
| Month 3+ (Detail) | Eyeshadow + liner + highlight + spray | NYX Palette + e.l.f. liner + Wet n Wild Highlight + e.l.f. Spray | ~$25 |
You don't need all 11 steps on day one. Here's the recommended beginner sequence:
Week 1 — Foundation only kit (~$40 total):
- Maybelline Fit Me Foundation + Beauty Blender dupe + Translucent powder
Week 2 — Add color (~$25):
- Concealer + blush + mascara
Month 2 — Add definition:
- Bronzer + brow pencil + lip gloss
Month 3 onward:
- Eyeshadow palette + eyeliner + highlight + setting spray
Frequently Asked Questions
Q: What order do you apply makeup for beginners?
A: The correct order: skincare (moisturizer + SPF) → primer (optional) → color corrector (optional) → foundation → concealer → setting powder → bronzer/contour → blush → highlight → eyeshadow → eyeliner → mascara → brows → lips → setting spray. This follows the principle of applying the most coverage first (foundation) and the most precision last (lips, brows), and setting each layer before building the next.
Q: What is the most important makeup product for beginners?
A: Mascara — it delivers the highest impact-to-difficulty ratio of any makeup product. A single coat of mascara on bare skin with nothing else makes eyes look more defined and awake immediately, requires no technique, and is the easiest "something" to add to a no-makeup day. After mascara, a tinted moisturizer or skin tint is the next most impactful beginner product — evening skin tone transforms how the face looks with almost no application skill required.
Q: How do I choose the right foundation shade?
A: Test on your jawline in natural daylight — not your wrist, which is typically lighter than your face. The correct shade should disappear seamlessly into your skin; if it's visible, it's wrong. Most brands now offer online shade-matching tools using uploaded photos. Sephora's in-store Color IQ service is particularly accurate. When ordering online without testing, read reviews from people who describe their undertone (cool/neutral/warm) and depth (light/medium/deep) similarly to yours.
Q: How long does a beginner makeup routine take?
A: A 5-step beginner routine (moisturizer/SPF, skin tint, concealer, blush, mascara) takes 5–8 minutes once you've practiced 3–4 times. The full 11-step routine takes 20–30 minutes for a beginner and 10–15 minutes once techniques become second nature. Most people find their everyday routine naturally simplifies to 6–8 steps that take 10–15 minutes — with the full routine reserved for special occasions.
Conclusion
Makeup for beginners is simpler than the industry makes it appear. Start with a skin tint, concealer, blush, and mascara. Practice those four until they feel automatic — then add eyeshadow, bronzer, and brow product one at a time. Every makeup skill improves with repetition; the third time you apply a cat eye will look dramatically better than the first.
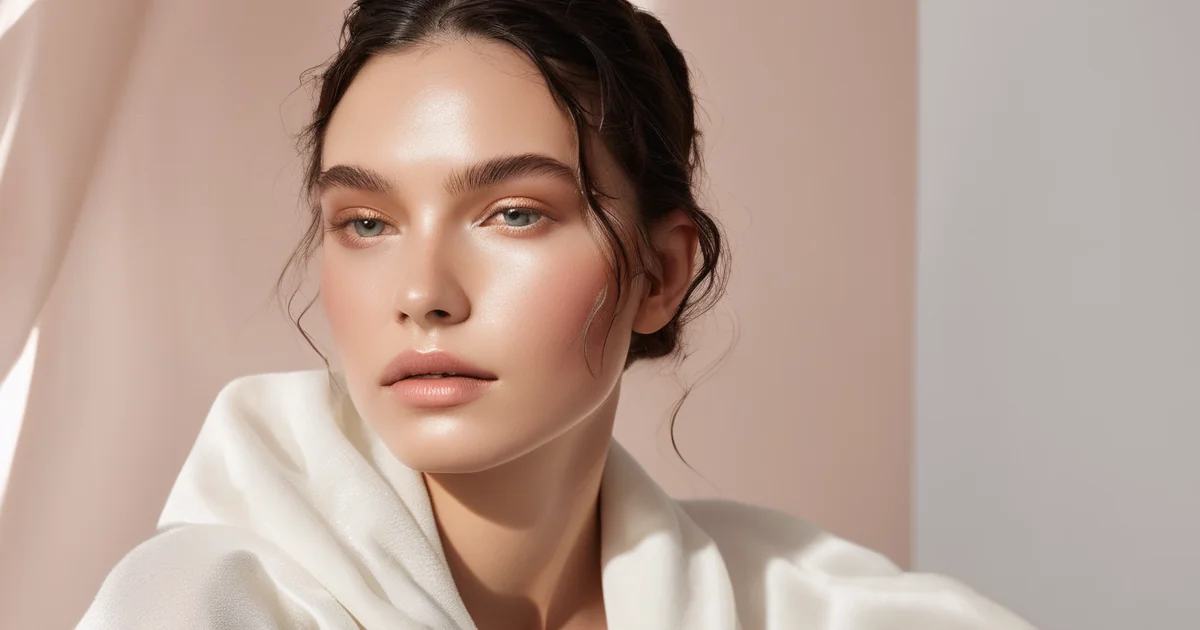
The most important beginner principle: your face is not a mistake to be corrected. The best makeup enhances what's already there. Start with what you like about your features and build from there.
Explore our complete makeup guides: how to contour for beginners, best drugstore makeup dupes, and the no-makeup makeup look tutorial.

0 Comments
Leave a Comment
Your email won't be published. Comments are moderated.
No comments yet. Be the first to share your thoughts!